Mold Kits
Mold Kits
A key aspect of the grillz creation process is molding. Impressions must be taken of the teeth and gum, usually both the upper and lower jaws. The quality of the impression has a critical impact on the final fit and visual quality of your grillz.
Through years of trial and error we have created a kit which is both straightforward, and delivers high quality results every time.
Our kits use a 2-stage premium impression material which meets and exceeds our 2 main requirements: Ease of use for our clientele and unsurpassed accuracy for our technicians.
Customers local to us in SA can have this step completed instore, while the majority of our long distance customers will need to make these impressions themselves.
It is important to note that clients are responsible for the quality of their impressions. In some instances, we may ask you to retake your impressions, which can incur an additional fee for subsequent kits posted to you.
Note: customers placing a custom grill order can opt to include a mold kit which we discount to $37.50 at the time of purchase.
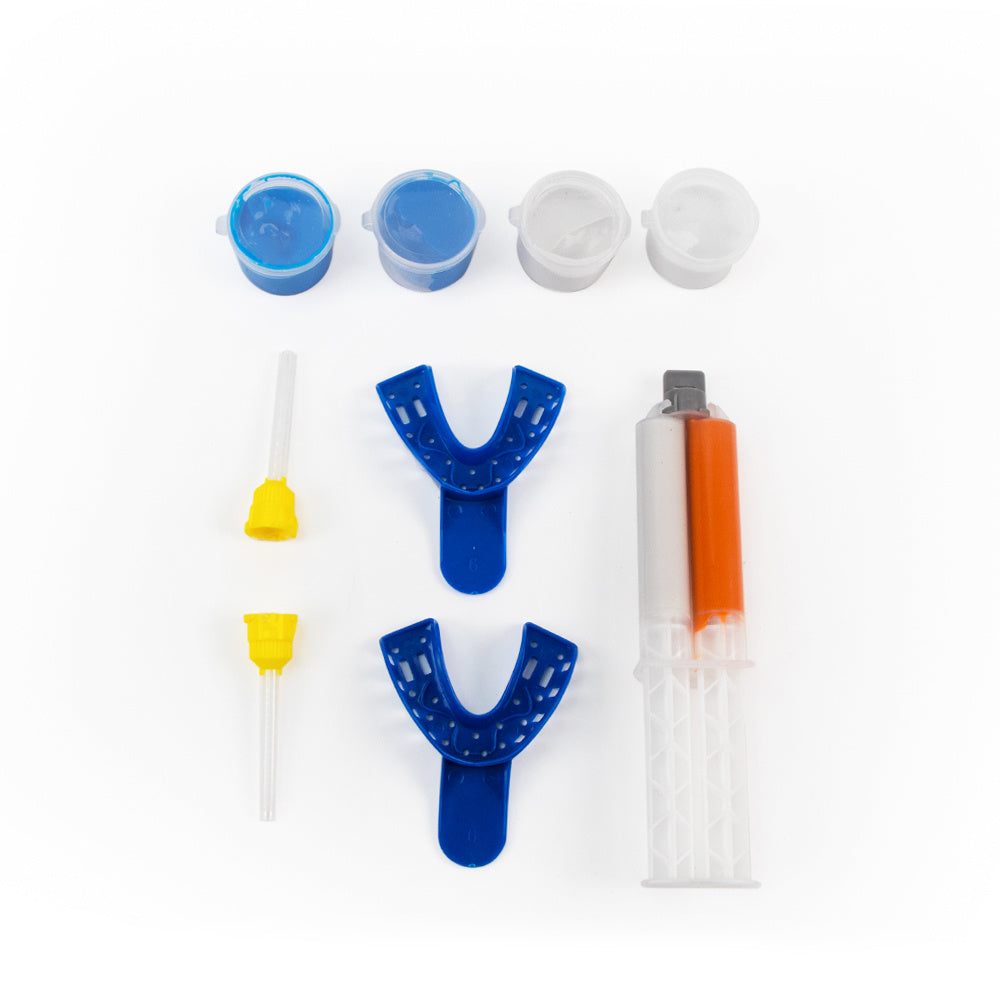
Mold Kit contents:
- Impression Trays (x2)
- Heavy Body impression putty (x2)
- Light Body impression material cartridge (x1)
- Mixing Tips for cartridge (x2)
Instructions
Follow these simple steps to take fantastic, clinical quality impressions (molds).
- Start with clean freshly brushed teeth.
- Check the fit of the trays in the mouth. Its easiest to put them in at a side angle rather than straight on!
- Once familiar with the trays, put them aside and mix 1 blue and 1 white tub of putty together until it is 1 solid colour. Roll into a sausage around 10cm long and place into the tray (this should all take no longer than 60 secs)
- Put the tray in mouth and press it over your teeth fully, making sure to go as deep as possible!
- Hold in place with your hands until fully set (around 3 mins) Remove once it is firm and completely set.
- Now that we have done stage 1, we will be injecting the orange(light body) material into the mold we just took. This way we get all the details.
- Take 1 of the mixing tips from the kit and connect to the cartridge/syringe with a quarter twist. Inject the light body material into the mold we just did. Filling the areas where the teeth have left their impression.
- Place the tray in the mouth again and press it fully over your teeth. Hold in place until fully set(3 mins) you can check the used mixing tip to see if it has set. Its best to wait a little longer to ensure the material is completely set.
- Repeat this process for the lower impression, use a new mixing tip for the cartridge/syringe.
- Once both are done give the impressions a rinse in cold water, bag them up and send them to us in the return satchel supplied. Please make sure to take the return satchel into the Post Office to send to us. We want your impressions to arrive as quickly as possible. DO NOT put them in a postbox, it voids tracking and they often go missing!!
Couldn't load pickup availability
Share


